Estimated Time: 7 Minutes
Replacing the Pre-Filter
⚠️ Caution: Always disconnect power to the unit before servicing
- First, make sure all power to the unit is shut off.
- Open the front panel, using the side tabs located on the lower panel, and pull towards you, then lift upwards.
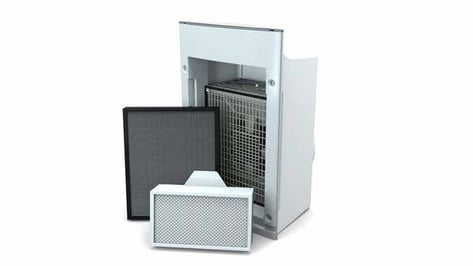
- Remove the 6-stage pre-filter. The prefilter can be cleaned monthly by using a small vacuum cleaner wand.
Replacing the Main Filter
⚠️ Caution: Always disconnect power to the unit before servicing
- First, make sure all power to the unit is shut off.
- Remove the prefilter by using a screwdriver. Remove the 2 screws holding the filter in place.
- Remove and discard the old main filter. Slide the new main filter into place and secure the main filter with the two screws.
- Reinstall the prefilter and the front cover. To reset the DFS indicator, turn the unit to medium speed and press the power button for 5 seconds.
- When the DFS indicator quickly flashes 3 times, the DFS timer is successfully reset.
Cleaning the High Energy Grid
⚠️ Caution: Always disconnect power to the unit before servicing
- Follow the steps (above) of the filter replacement to remove the filters.
- Replace them if needed. Use a pipe cleaner or small vacuum to gently clean the wires on the high-energy grid.
To purchase an annual Compact filter set, please click here.

